How to Cook Turkey in an Oven Bag

Recipe Overview
Overview
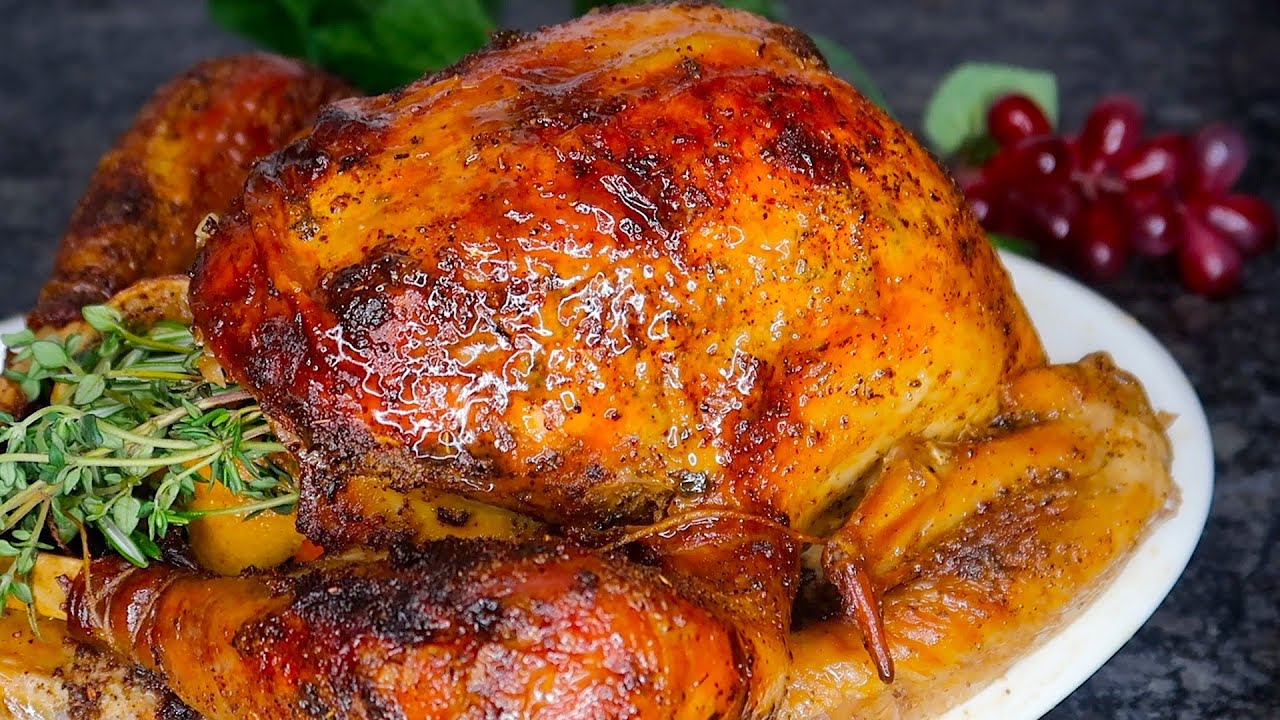
Cooking a turkey in an oven bag is a game changer for anyone looking to simplify their holiday meal prep. This method not only ensures a moist and flavorful turkey but also makes cleanup a breeze. The oven bag traps steam, allowing the turkey to cook evenly while retaining its juices, which is essential for a succulent roast.
To start, you’ll want to prepare your turkey by brushing it with butter or oil and seasoning it well. The addition of vegetables in the bag not only acts as a natural rack but also infuses the drippings with flavor, perfect for making gravy. One of the best tips shared in the video is to tie the drumsticks and secure the skin to prevent it from shrinking, which helps maintain the turkey’s presentation.
Once your turkey is prepped and placed in the bag, it goes into a preheated oven. The beauty of this method is that it can cut down cooking time significantly, allowing you to focus on other dishes or enjoy time with family. After cooking, letting the turkey rest for a bit before carving ensures that the juices redistribute, making each slice tender and juicy.
Overall, this technique is not just for seasoned cooks; it’s accessible for beginners too. With just a few steps and minimal fuss, you can achieve a beautifully roasted turkey that will impress your guests. Whether it’s Thanksgiving or a family gathering, this oven bag method is sure to become a staple in your cooking repertoire.
Recipe Details
Steps & Tips
Add a tablespoon of flour to the oven bag and shake it up.
Tip: Add a tablespoon of flour to the oven bag to prevent it from bursting.
Place the oven bag into the roasting pan.
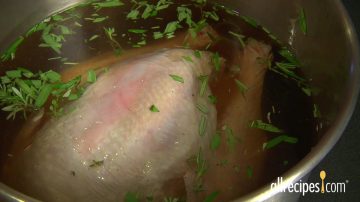
Add vegetables and herbs in an even layer inside the bag.
Tip: Spread vegetables in an even layer to act as a rack for the turkey and season the drippings.
Add the prepared turkey breast side up into the bag.
Brush the turkey with butter or oil and rub with spices and seasonings.
Tie the drumsticks together with kitchen twine.
Use toothpicks to secure the skin in front of the neck cavity and behind the ribcage.
Tip: Tie the drumsticks together to prevent the skin from shrinking and exposing the breast meat.
Seal the bag with the enclosed tie or butchers twine.
Tip: Use only an oven-safe bag to avoid melting or fire hazards.
Cut 6 1/2 inch slits in the top of the bag.
Place the turkey in a 350 degree oven for about two to two and a quarter hours.
Tip: Check the turkey after about two to two-and-a-half hours for doneness.
Tip: The bag retains moisture, so you won't need to baste the turkey.
Let the turkey rest for 30 to 40 minutes after baking.
Tip: Let the turkey rest for 30 to 40 minutes before removing it from the bag.
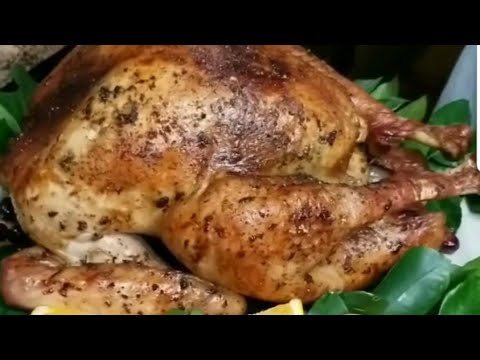
Cut the top off the bag and peel it down to remove the turkey.
Tip: Cleanup is easy since all juices are sealed inside the bag.
Ingredients
Ingredient: Dairy
→ Substitution: Coconut Oil
Nutrition
Skill Level
Frequently asked questions
Below you will find answers to the most common questions about this recipe.
Got a Recipe Question? Ask Away!
Interesting Tidbits
- •Using an oven bag helps retain moisture, resulting in a juicy turkey.
- •Cutting slits in the bag allows steam to escape and helps check the turkey's doneness.
- •Oven bags can reduce cooking time by up to an hour.
- •The cleanup is easy since all juices are contained within the bag.